Craft Cove Blog: instructions
Showing posts with label instructions. Show all posts

Sunday, December 31, 2017

Making a Flat Circle

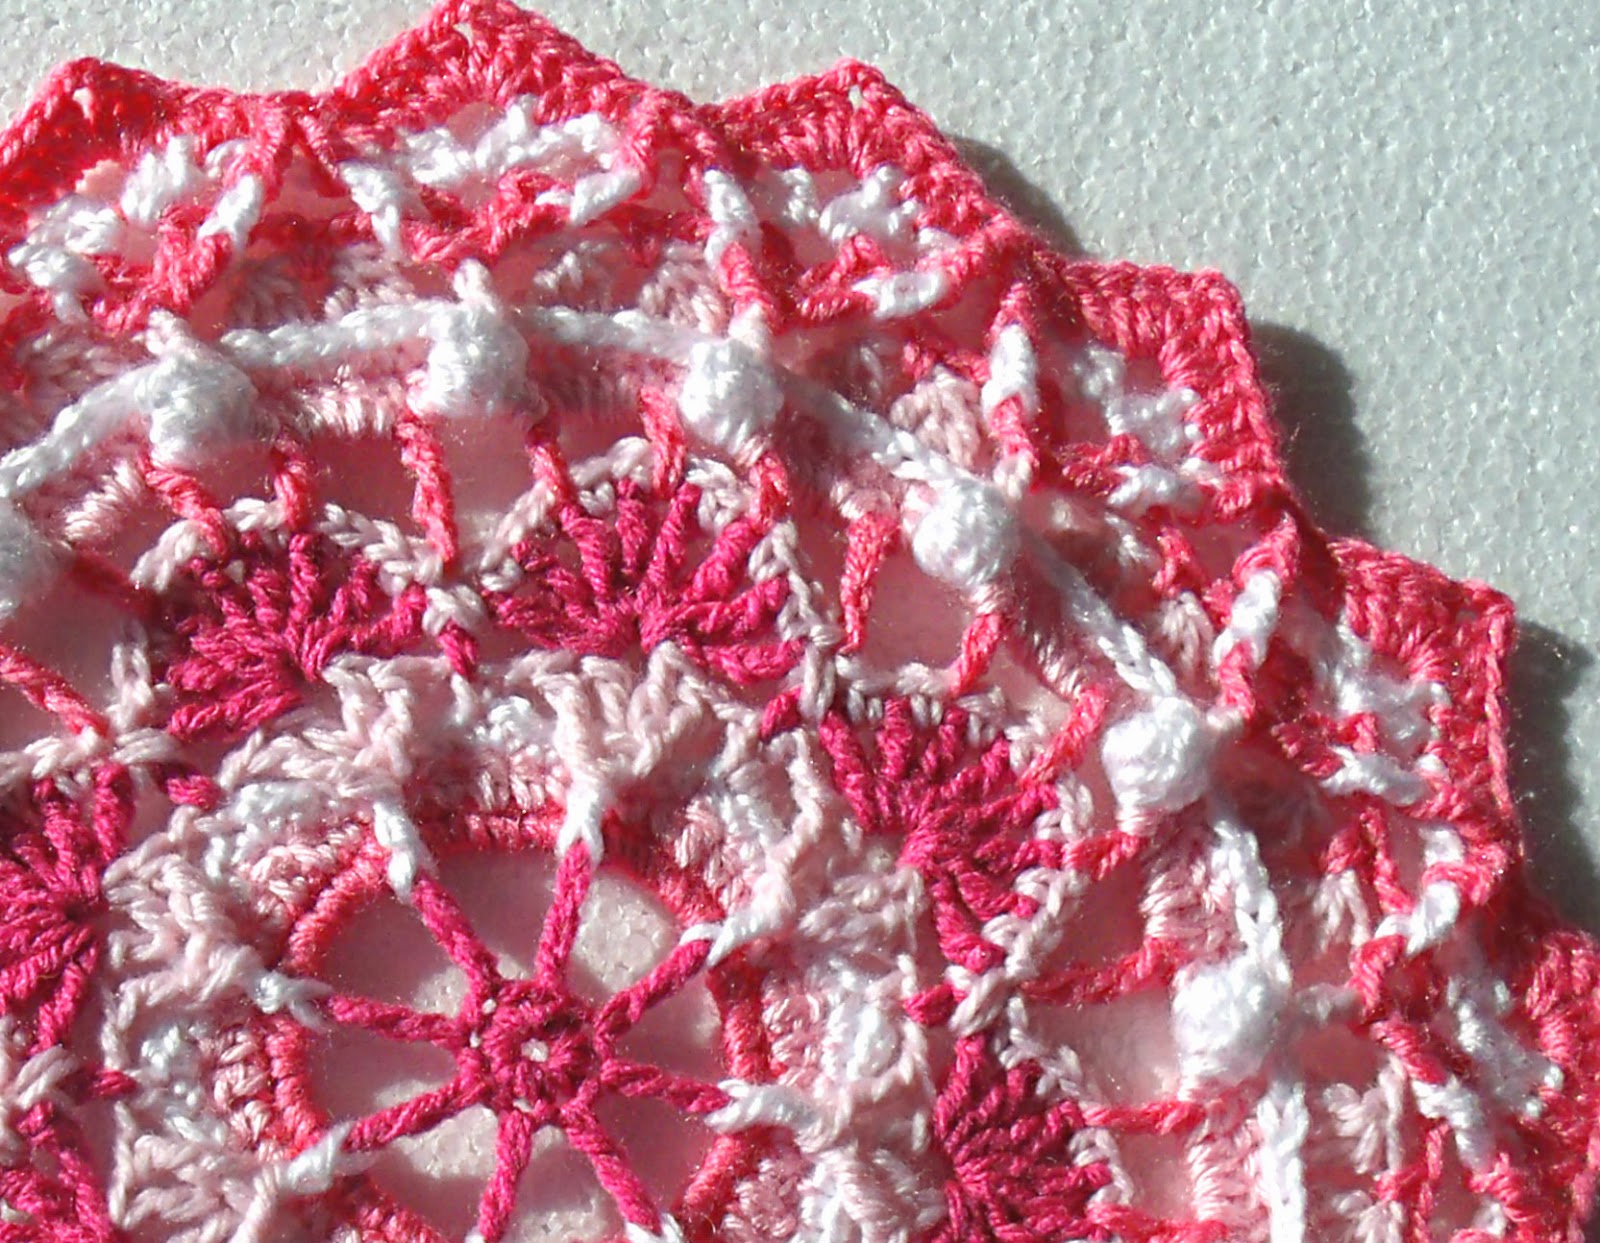
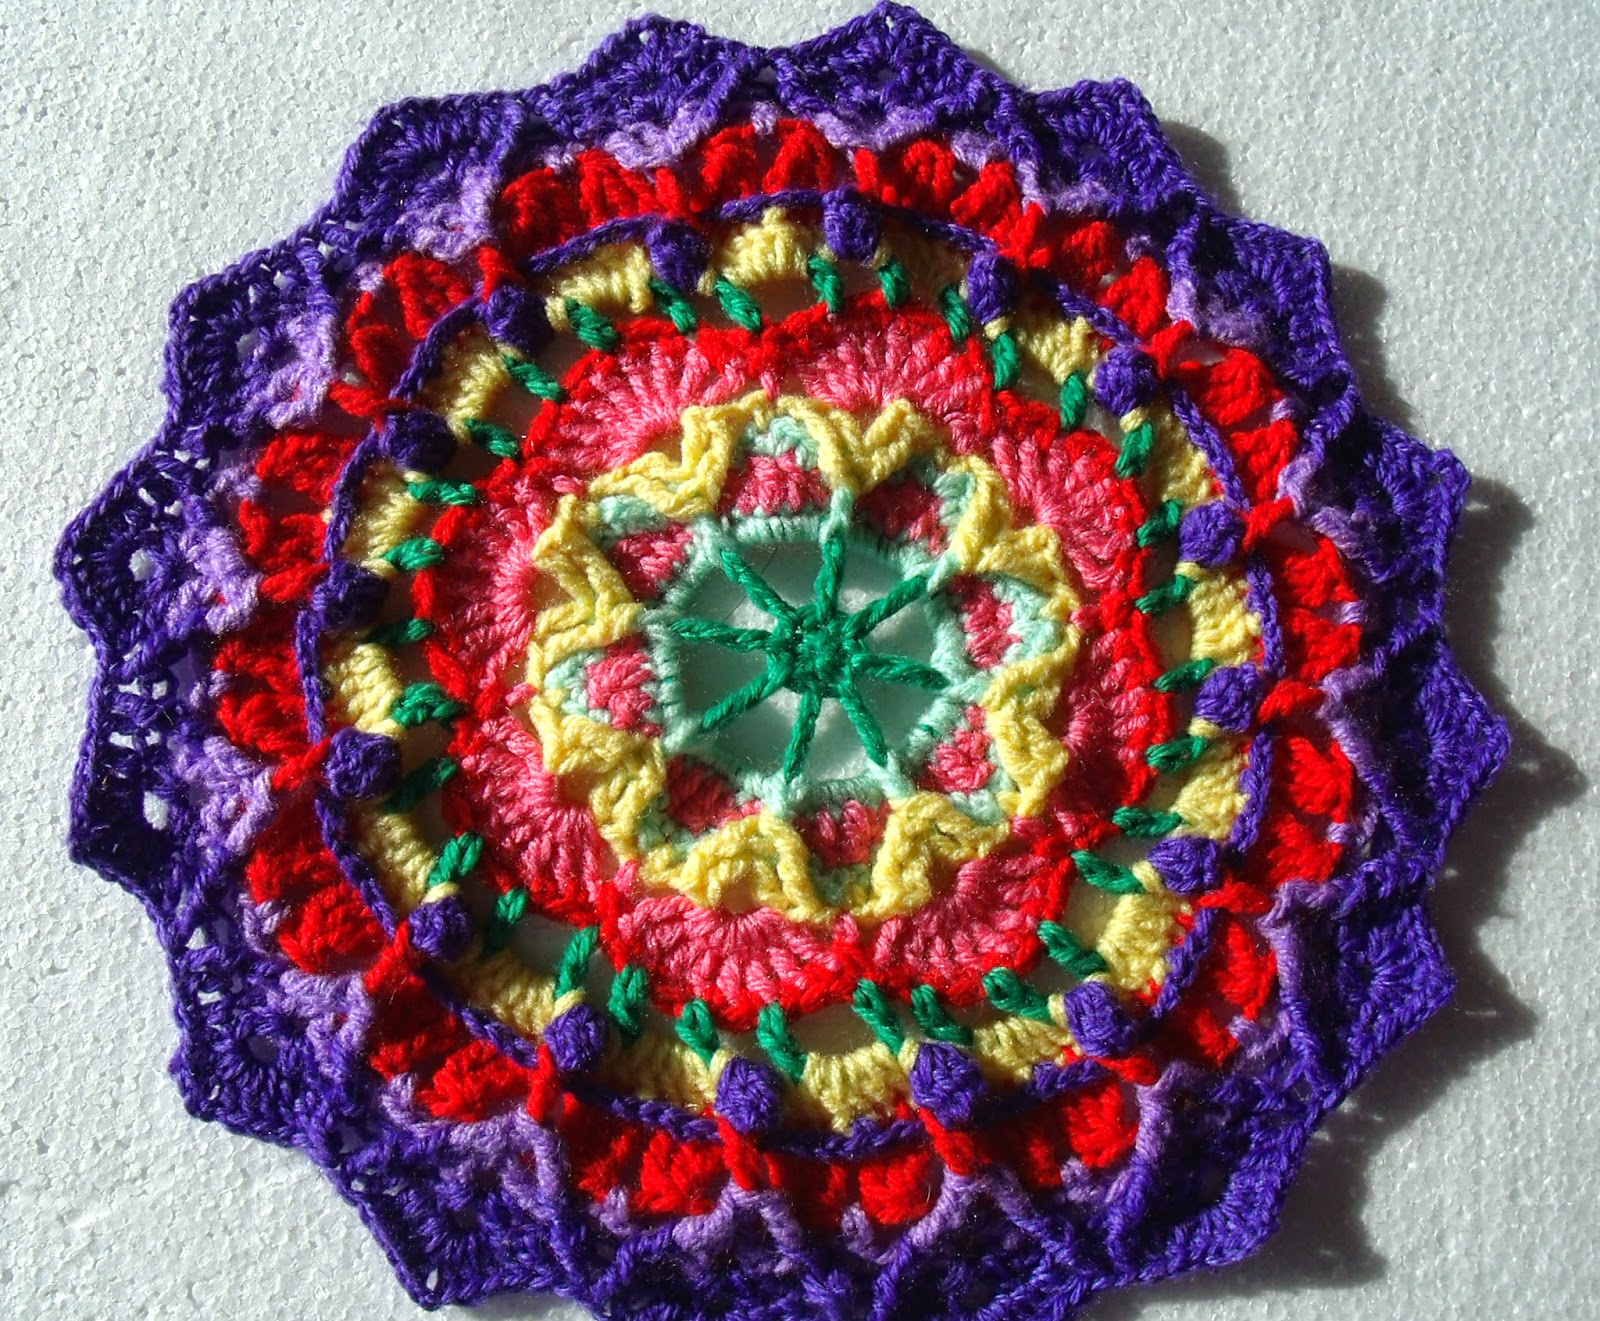
Often when crocheting you will want to create a lovely circle that will sit nice and flat


Some people say there is a secret formula to creating the perfect flat circle. But it's not really a secret, it's just a clever way to evenly increase around to keep it flat


When crocheting in a circle, if there were never any increases, the crochet would form a tube. 


To make it a flat circle, you need to increase stitches in each row

Here is the formula to use.


Formula

Increase by the starting number of stitches in every row.


Here's an example or the number increase:

Row 1: 12 stitches.

Row 2: 12 + 12 total 24 stitches,

Row 3: 24 + 12 total 36 stitches

Row 4: 36 + 12 total 48 stitches

Row 5: 48 + 12 total 60 stitches

Row 6: 60 + 12 total 72 stitches


The usual way to create this into a circle is by crocheting like this:

Row 1: Magic circle, 12 dc in circle. (12 stitches)

Row 2: 2 dc in each stitch around (24 stitches)

Row 3: 1 dc in next st, 2 dc in next st (36 stitches)

Row 4: 1 dc in each of next 2 sts, 2 dc in next stitch (48 stitches)

Row 5: 1 dc in each of next 3 sts, 2 dc in next stitch (60 stitches)

Row 6: 1 dc in each of next 4 sts, 2 dc in next stitch (72 stitches)


When making a circle in dc (tr UK/Aus) the most common number of starting stitches is 12, but it can be anything between 10 to 14 stitches for best results.

But use less for sc (dc in UK/Aus), 6 to 10 stitches works best


Next week I will explain what to do when things go wrong with the flat circle.


Monday, August 24, 2015

Newest Pattern


I've created this new doily pattern.

It is now available to buy on Ravelry, Craftsy, and Artfire


I created twisted loop sets, which I think is an entirely new stitch. I've never seen it anywhere before.

This doily also has bobbles and picots, and is made with a sort of pineapple pattern.


It can be made with one or two colours


Thursday, July 17, 2014

Floral Fantasy Mandala Pattern


 I've finished this pattern and had it tested.

It is now available from: http://www.ravelry.com/patterns/library/floral-fantasy-mandala

http://www.artfire.com/ext/shop/product_view/9709288

and
http://www.craftsy.com/pattern/crocheting/home-decor/floral-fantasy-mandala/103993


This pattern consists of a variety of stitches, creating a multi-layered textured effect.

All stitches used are explained thoroughly. Illustrations and photos are included throughout the pattern to help make everything clear.

This is great for stash busting. Use a different colour for each row, or make it all in one colour.

The finished product can be used as a doily, a wall decoration, cushion covers, and much more.


Sunday, July 7, 2013

Free Crochet Baby Crocs Pattern - Updated

I have improved and updated this pattern. It is still free, but is now written much like a paid pattern. Please consider a donation.  http://craftcove.blogspot.com.au/2015/04/donations.html


I have been asked several times for the pattern to make these baby crocs.

SO HERE THEY ARE!


Want this as a printable pdf? Get it here


This pattern is given for free, but of course I would love it if you would donate something for the time I've put into this for you.

You can do what you want with the finished piece, apart from mass production.  But the pattern itself is mine and cannot be sold or shared without my permission.


BABY CROCS  - my own pattern


Australian/British terms
To fit newborn size

8 ply wool, 4mm hook


Starting with sole

Rnd 1 - Ch 11, 1 htr in 2nd ch from hook, 1 htr in each of next 8 ch, 3 htr in last ch, Now working on other side of chain: 1 htr in each of next 8 ch, 2 htr in last ch, slst to join in 1st htr. (22sts)

Rnd 2 - Ch 2 (counts as a htr) 1 htr in same st as joining, 2 htr in next st, 1 htr in each of next 8 sts, 2 htr in each of next 3 sts, 1 htr in each of next 8 sts, 2 htr in last st, slst to join in top of ch-2. (28sts)

Rnd 3 - Ch 2, 1 htr in same st as joining, 2 htr in each of next 2 sts, 1 htr in each of next 6 sts, 1 tr in each of next 3 stitches, 2 tr in each of next 7 sts, 1 htr in each of next 7 sts, 2 htr in each of last 2 sts, slst to join in top of ch-2. (40sts)


Sides

Rnd 4 - Work this row in the loop behind the back loop, see video here: http://www.mooglyblog.com/third-loop-half-double-crochet/, 1 ch, 1 dc in same st, 1 dc in each of next 14 sts, 1 htr in each of next 15 sts, 1 dc in each of next 10 sts, slst in first dc to join. (40 sts)

Rnd 5 – Working in both loops, 1 ch, 1 dc in same st, 1 dc in each of next 11 sts, 1 tr in each of next 19 sts, 1 dc in each of next 9 sts, slst in first dc to join (40 sts)


Rnd 6 – 1 ch, 1 dc in same st, 1 dc in each of next 13 sts, 2trtog 4x, 1 tr in each of next 2 sts, 2trtog 4x, 1 dc in each of next 8 sts. slst in first dc to join (32 sts)


Rnd 7 – 1 ch, 1 dc in same st, 1 dc in each of next 12 sts, 2htrtog 6x, 1 dc in each of next 7 sts, slst in first dc to join

Rnd 8 - 1 slst across each of next 11 sts, 1 tr in each of next 2 sts, 2trtog 3x across front, 1 tr in each of next 2 sts, slst in each of next 4 sts, slst in first slst to join.

Fasten off.


Work straps separately

Straps (worked separately) – 23 ch, 1 tr in 4th chain from hook, 1 tr in next st, 1 htr in each of next 15 sts, 1 tr in each of last 3 sts. Working over post of tr just made, 1 ch, 3 dc over tr just made, 1 slst in next 19 sts across starting ch, 3 dc over 3 ch at other end, 1 slst in each of next 19 sts along top edge. Slst to join.

Fasten off

Sew buttons in place on foot section


Please consider making a donation  


http://craftcove.blogspot.com.au/2015/04/donations.html


Created by Jenny Lawson


For any questions, email me at: craftcove@gmail.com

More tutorials can be found at: Jewellery from Craft Cove http://craftcove.blogspot.com/
Please do not distribute, lend or copy.
Do not mass produce.


Copyright 2016 Jenny Lawson


There is another size that I still have to fix up the pattern for.


Friday, September 10, 2010

New Tutorials

I am listing some new tutorials on my blog.  These are at very reasonable prices, and can be bought straight from this website and downloaded as soon as payment has been received.

Payment can be made by clicking the "buy" button, and paying through Paypal.
You will receive the patterns digitally by kiqlo, in a pdf file.  PDF files can easily be opened with a free program easily downloaded from adobe, get it here.


Find the new tutorials here

Let me know if you have any problems or questions by using the contact tab at the top of the page, or just comment below.

More Tutorials


More patterns available, and more coming.

You can buy them from Craftsy here:   Craft Cove patterns

And Artfire:  http://craftcove.artfire.com/

And also from http://www.ravelry.com/stores/craft-cove-designs


 http://www.ravelry.com/patterns/library/four-tone-spiral-mandala


 http://www.ravelry.com/patterns/library/spiral-geometry-mandala


 http://www.ravelry.com/patterns/library/tree-mandala


http://www.ravelry.com/patterns/library/floral-fantasy-mandala


http://www.craftsy.com/pattern/jewelry/bracelet/herringbone-spiral-tutorial/32183


http://www.craftsy.com/pattern/jewelry/other/beaded-handbag-tutorial/18134


http://www.craftsy.com/pattern/jewelry/earrings/bugle-bead-earrings/103832

Saturday, August 14, 2010

New Look Web sites

I've been busy making changes to both Craft Cove and Flower Cove.  I'm changing every page over to photo gallery elements.  This will take me a while to do.  But once it's done it will make it a bit quicker for me to list things.  The way it is now, I have to individually add heaps of elements for each and every item, then fill each one individually.  This new method means I just add the images of the jewellery then add the descriptions.

It will also be easier to see all the handcrafted items, there won't be so much scrolling down the page to see everything.  They're small thumbnail images at first, but you can hover or click on an image to see the item larger and the information about it.

I will no longer list when an item is sold, because I can always make a new one from scratch anyway.  So I will let you know if it's sold when you add you're order, so you can either have a custom one made, or choose another item.

Tuesday, May 27, 2008

Free Tutorials

All of these patterns I've created myself from my own original designs unless stated otherwise.All these tutorials are free for you to use, but not to copy, sell or distribute. If you feel like making a donation I would be very grateful.

Donations are very easy to do through Paypal, and you don't even have to sign up.


All about blocking
https://craftcove.blogspot.com/2019/01/crochet-blocking-101.html


Blocking FAQ's
https://craftcove.blogspot.com/2019/01/blocking-faq.html


 Hexagon 2 pattern
https://craftcove.blogspot.com/2018/12/hexagon-2-pattern-us-terms.html
https://craftcove.blogspot.com/2018/12/hexagon-pattern-2-uk-terms.html


Hexagon 1 pattern
https://craftcove.blogspot.com/2018/12/hexagon-pattern-one-uk-terms.html
https://craftcove.blogspot.com/2018/12/hex-pattern-one.html


Making a Flat Circle
http://craftcove.blogspot.com.au/2017/12/making-flat-circle.html


When The Flat Circle Goes Wrong


Which Hook For the Perfect Circle
https://craftcove.blogspot.com/2018/01/which-hook-for-perfect-circle.html


When a Circle is Not a Circle
https://craftcove.blogspot.com/2018/01/when-circle-is-not-circle.html


Cyclone Swirl
http://craftcove.blogspot.com.au/2016/10/cyclone-swirl.html


Blocking and stiffening crochet
http://craftcove.blogspot.com.au/2014/01/blocking-and-stiffening-crochet-items.html


Crochet Baby Crocs  -  Updated and Improved
http://craftcove.blogspot.com.au/2013/07/free-crochet-baby-crocs-pattern.html


How to wear an ear cuff
How to wear an ear cuff photo for-animation-1.gif


Start at the top of the ear where the ear is thinner. Slide the cuff downwards over the cartilage, while turning it towards the front.

The cuff will sit from the outside of the ear, and over both sections of cartilage on the middle part of your ear.

Squeeze the ring section slightly, if necessary to get a snug fit.  This is only necessary before the first use.


Herringbone Rope
http://craftcove.blogspot.com/2011/05/free-herringbone-rope-tutorial.html


Basic Jewellery Making
http://craftcove.blogspot.com/2010/07/basic-jewellery-making.html
Information for beginners can be found here


Different pattern type instructions
http://craftcove.blogspot.com/2010/07/instructions-for-following-3d-chart.html


We love 3D <br>beading

More Tutorials
http://3dbeading.com/


Victorian Beaded Flower
http://craftcove.blogspot.com/2009/08/victorian-beaded-flower-tutorial.html


Filled in heart
http://craftcove.blogspot.com/2009/05/filled-in-heart-tutorial.html


3 tier beaded flower
http://craftcove.blogspot.com/2009/05/3-tier-beaded-flower.html


Netted star
http://craftcove.blogspot.com/2009/04/free-star-tutorial.html


See more tutorials here: http://craftcove.blogspot.com/2010/09/more-tutorials.html

Add this

| More